Chapter 3: Blend modes and masks
In this chapter I will show you how to make a mask and how to apply it to different tracks. To make something like the picture below you will need four tracks: two will contain different video clips, one will be used as a mask and will contain at least one solid, and the last will blend the masked videos.
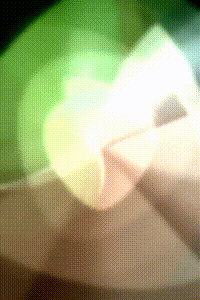
First thing add new a track with a video clip (feel free to add a Track opacity/zoom/pan to modify its position), then add a new track below it, add a Rectangle preset and, for the sake of this tutorial, turn down the width parameter to 50 and change the X parameter to move the rectangle to the left.
Now add a Blend preset on the track with the videoclip, set the first track parameter to -1 (it indicates the current track), the second track parameter to 0 (the track below the current one), the blending mode parameter to 3 (multiply mode). You should have something like the picture below in your video window.

As you can see, the track with the Rectangle preset acted as a mask for the video. Based on what blending mode you use, the black/white portion of the track acts like a wall, hiding the blended video. You can change the solid shape, add multiple solids to make a more complex mask, change the solid color and more, feel free to experiment.
Now add a new track with a second video clip above the track with the first video clip and add a Blend preset, set the first track parameter to -1, the second track parameter to 1 (this time it's not the track below the current one but the track two tracks below the current one, aka the track that you are using as a mask) and the blending mode parameter to 1 (additive mode).
You should see the second video clip with the mask applied but this time the white part of the mask it's visible, unlike before where the white part was covered up by the video.

For the last step add a new track at the top and add a Blend preset, set the first track parameter to 0 (track with the second video clip), the second track parameter to 1 (track with the first video clip) and set the blending mode parameter to 1.
As you can see nothing is changed: the blend preset is trying to "put" the track with the first video clip in the black space of the track with the second clip, but next to the second clip there's a white space! Go to the track with the second video clip you added and set the blending mode parameter to 2 (subtraction mode) to turn the white of the mask to black and now you should see both video clips next to each other!

To make the final result more pretty I put a Blur (low quality) preset on the track used as a mask, just to make the edge between the two video clips "softer".
Keep in mind that this effect was easily achievable with the Track opacity/zoom/pan+ preset within a single track, but this method allows you to use more complex masks and to be in general more flexible.
As usual you can download the project from here